
Introduction
I am basing this blog on a talk I did for my AIDA freediving instructor course and hope it may be useful as an overview to anyone else taking their camera underwater.
Assuming you have a good understanding of manual controls on a DSLR and are a competent diver, I want to “dive deeper” into techniques which lend themselves to underwater photography, the additional kit you might find useful, and outline the problems that are associated within the underwater environment.
For me it’s all about wide angle photography. Whether it’s capturing the surrounding topography or encounters with the local wildlife. This is what the main focus of this article will be on.
So you’re a competent diver, you have the correct weight on your belt and you intuitively know where all your camera controls are. But did you remember to……..
- Do a test shot before getting the camera wet? – This is so important! you will instantly know if you’ve left your lens cap on, your flash trigger is on, you’ve got a memory card and battery in. You can view your image and make quick adjustments so you are ready as soon as you jump in.
- Empty your memory card? – Obvious, but what if you haven’t backed up your images from your last shoot, you may not have enough room to take what you need or worst case you flood your housing and loose everything.
- Charge your batteries? – I always take spares, they can go wrong and not hold there charge for very long
- Check your £3 O rings? – keep those O-rings lightly greased, make sure their in their slots, these cheap bands of rubber are the last stand towards protecting your equipment.
- Clean your dome? – There’s nothing worse to find your images are slightly blurry on the focus point due to a scratched/greasy dome. In pools you often get bubbles forming on the dome.
- Attach your lanyard? – Only relevant in open water, make sure you can quickly release it and that its not so long it gets in your shot.
- Properly defog your mask? – Theres nothing more frustrating than not being able to focus because you cant see properly.
- Account for shallow dives with extra weight? – Its worth taking a big float for resting your rig on and to carry extra weight bottle of water etc.
- Hydrate? – You are carrying around a lot of extra weight
- Gents, have you shaved your top lip? – Leaky masks, also long hair get in the habit of keeping your mask skirt hair free.
- Acclimatised your rig? – If there is a lagre enough temperature change you may find everything fogs up, this normally clears within 20mins.
Other Considerations
So you’re ready and your cameras ready now to look at what is not in your control.
- Check Tide times (high, low, slack, dangerous currents, access)noodle
- Check Weather condition for the day (Are you expecting a thunderstorm half way through your dive? Is the sun going to be in the right position to get your shot?)
- Plan your images before you go in. (This will help with lens choice and for you to apply the best guess settings)
- Is your subject there, will it be out in the evening or doesn’t arrive for another month.
The Science bit!
Some fundamental characteristics of water that will affect your photography.
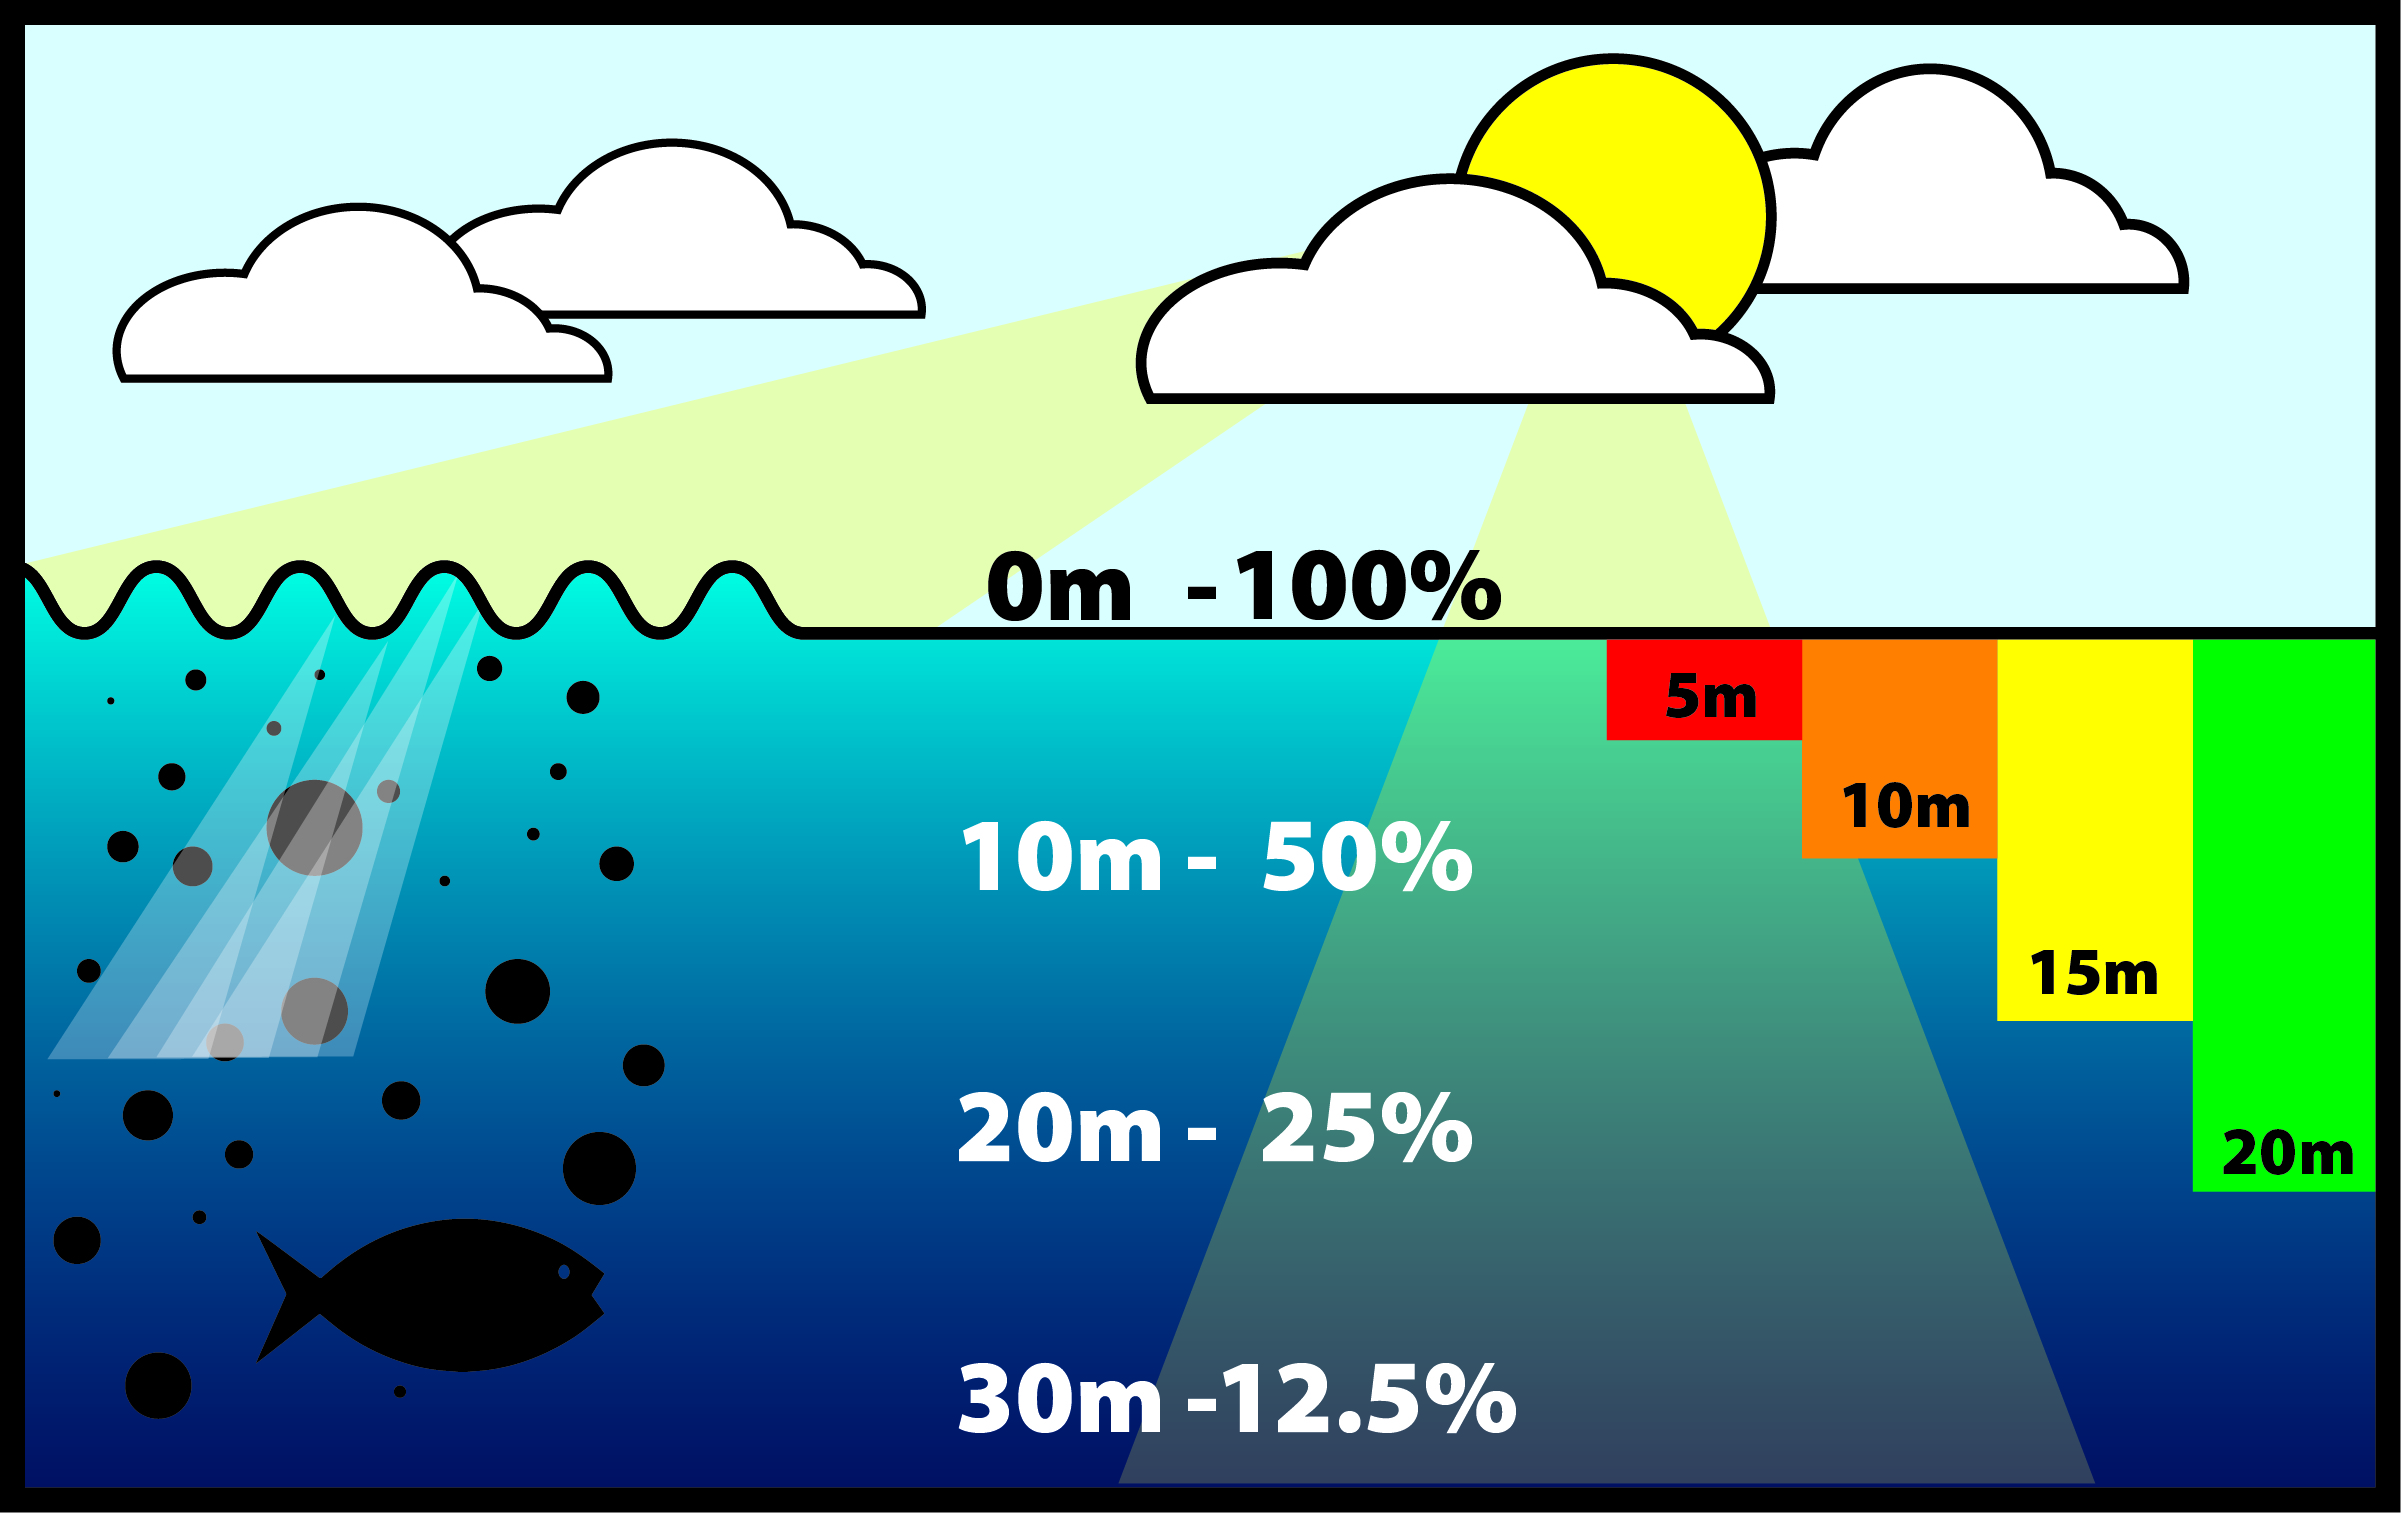
- Colours disappear with depth in the same order as you see a rainbow (red, orange, yellow, green, blue, indigo and violet) with red disappearing at 5m. we can bring these colours back by adding artificial light from artificial light sources such as strobes and torches. We could also adjust our white balance but with high depth changes I tend to change this with post-processing.
- Light rapidly disappears by 50% every 10M, So midday sun is an advantage to get more light at depth.
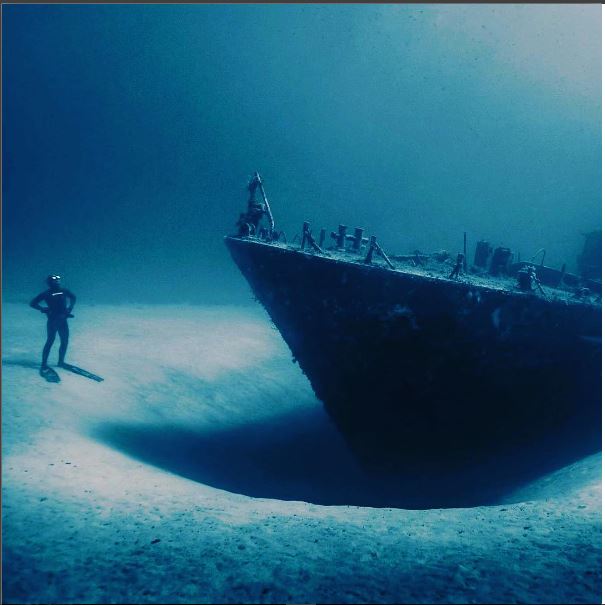
- We loose contrast as we go deeper
- Advantages and disadvantages of cloud cover Cloud cover can be a blessing in shallow water as it acts as a large free diffuser, without it our sensors struggle to pick out the detail in such a high dynamic range.
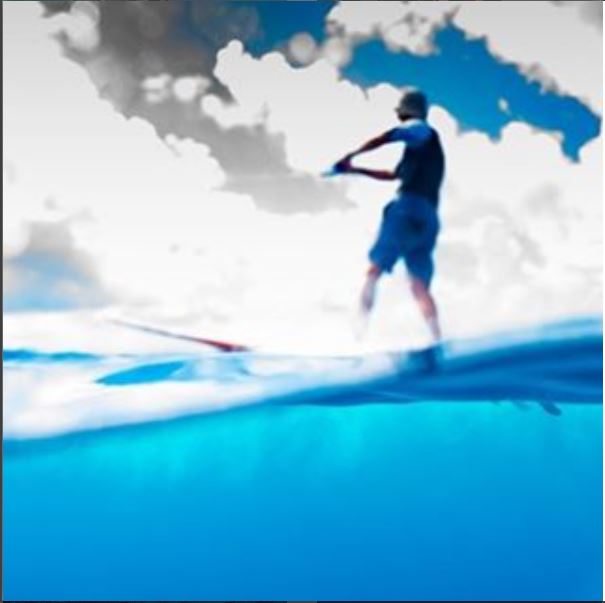
- Still water lets the most light through and as you get closer to the surface can give off amazing reflections, while a disturbed surface paints fantastic light effects.
- As the sun gets closer to the horizon the light lose increases very quickly, but there is an ultimate time where you get the light rays dancing through the water for the more creative look.
- Whether its sediment or plankton the visibility is something hard to predict and the only real way to combat it is to get closer to your subject so there is less muck between and it.
Why we use manual settings?
Auto settings give an average for light and dark, Underwater it isn’t average!
Auto settings are so advanced but they still can’t cope with most of the environments we are going to explore. Auto gives a nice balanced exposure which sounds OK but unfortunately most of the places we will dive will have a huge range of light and dark. We want to get lovely blacks in the dark areas and capture the colours coming through the surface in the light areas. A perfect example is here in the cenotes of Mexico. We want to expose light streams by getting good blacks for the dark areas. Auto would try and compensate for black, making it over-grainy with any bright areas being blown out to white. By bumping up to the ISO in excess of 1000 we will increase our camera’s light sensitivity, which gives us a chance to control the highlights and shadows by adjusting our shutter speed and aperture settings.
Our eyes lie!
Our eyes or brain lie all the time on the surface. Have you ever taken a picture of a full moon or a friendly bird, reviewed your image and found a rather disappointing small dot on your screen? I’m sure you’ve seen optical illusions like the one below.
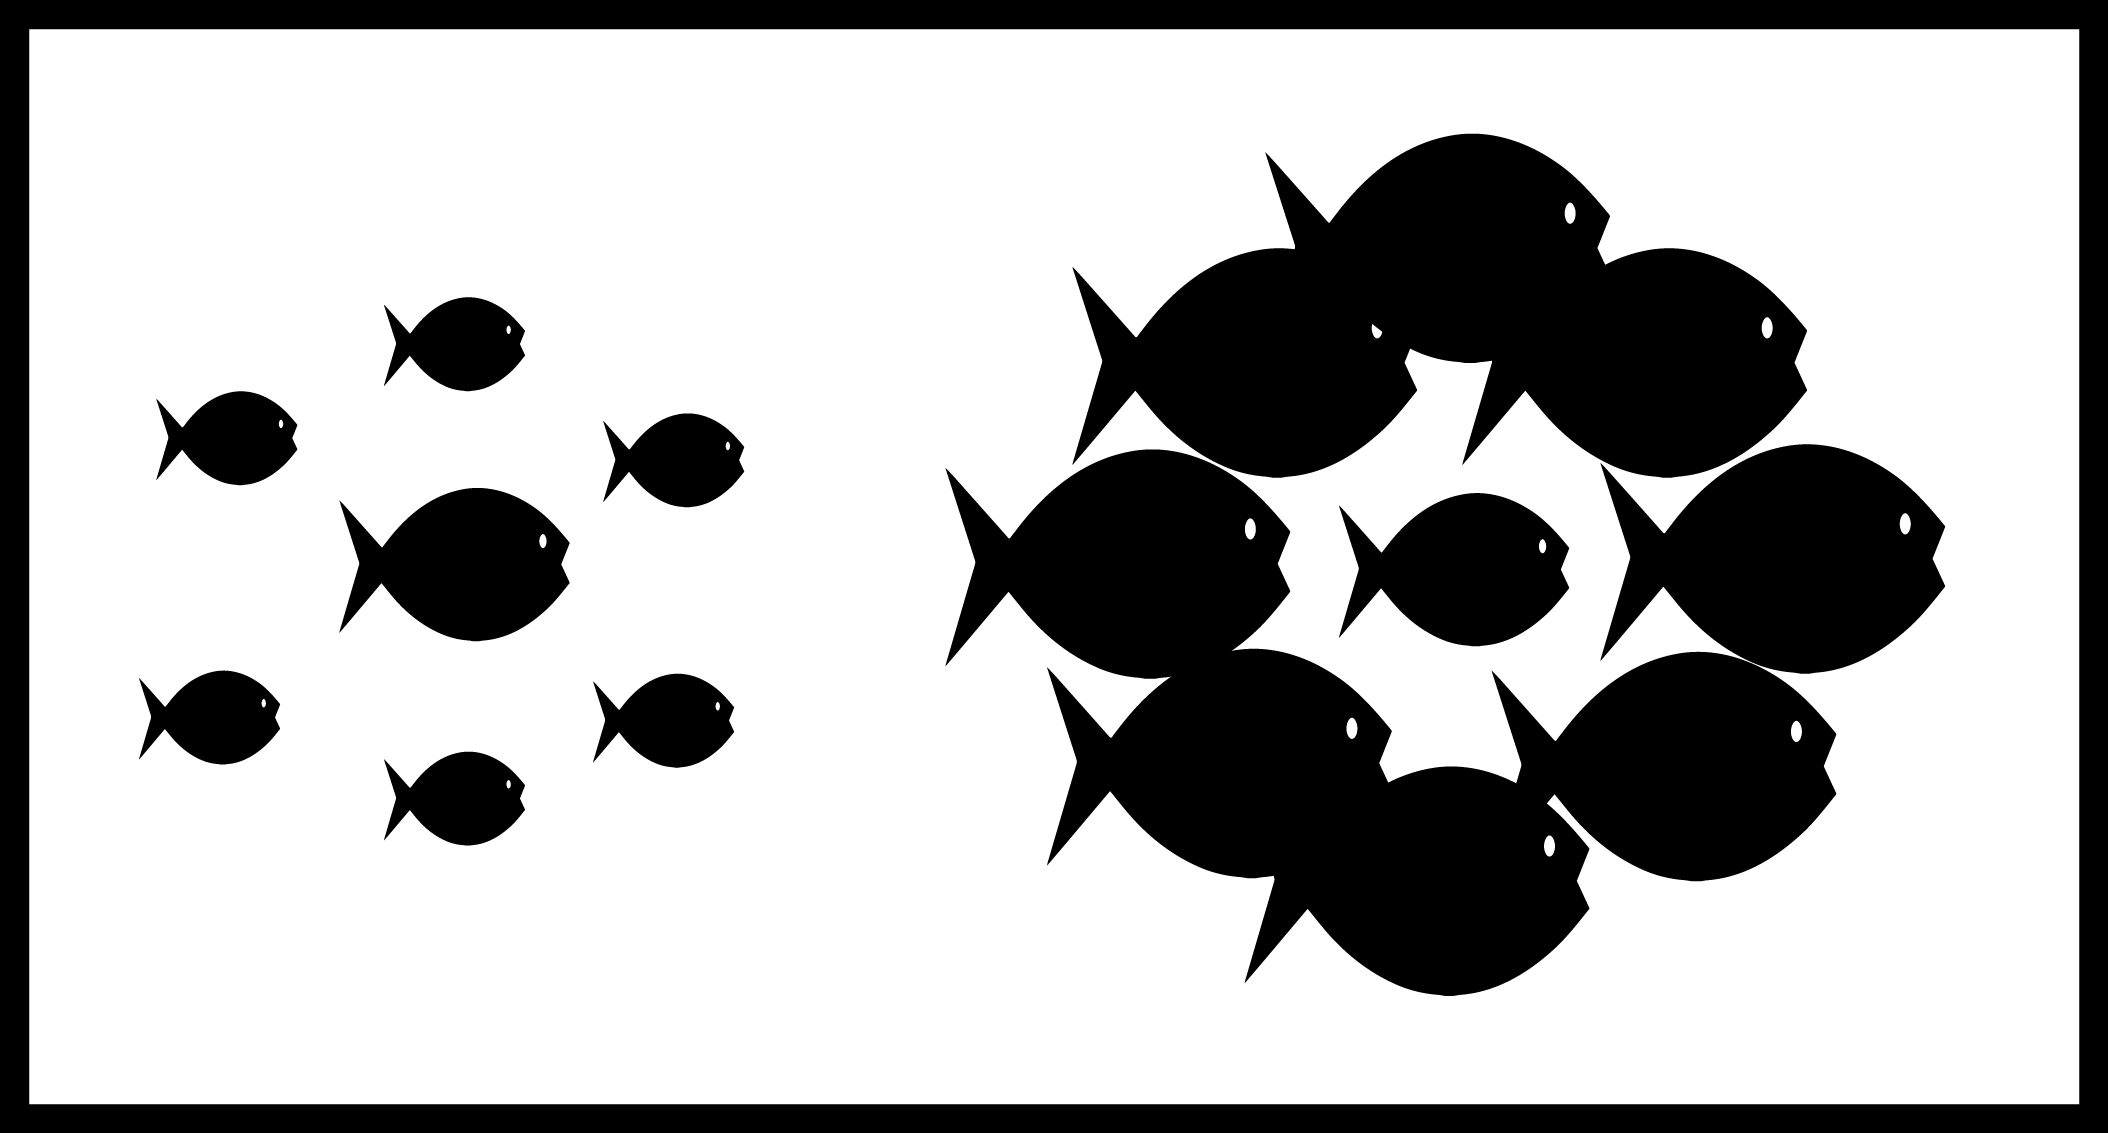
On top of these ‘eye lies’ when underwater, everything can appear to be 25% closer and 1/3 larger. Your brain will also tell you it’s seeing colour at depth but when you review your image, it’s blue with no contrast. All lies! Even when we review our images underwater we might think we have a nicely exposed image but often when we upload to our laptops they are all overexposed.
How do we compensate for these?
- Get in close
- Add strobes to bring back colour & contrast
- Review images to check composition
OK, lets go diving.
Considerations for a shore dive.
This often involves covering some distance to get to your subject
Extra kit recommendations:
- Big float with dive flag and reel
- Drinking water
- Camera lanyard
- Knife
- Extra weight for shallow dives
- Strobes (recommended)
Considerations for a deep dive from a boat.
- Keep kit to a minimal (busy boat)
- Have your camera rig ready to go
- Get in the water early (get test shots, and remember there will be chaos as everyone’s getting ready)
- Perform a quick test dive (get equalisation, see what the light is like, check for currents, what ways to approach your subject)
- Adjust your duck dive so you can still equalise and maintain a streamlined body.
- Have one image goal per dive
- Strobes not recommended
- Use your buddy as a model
- Using the line will help get to depth.
Considerations for photographing wildlife.
- Take time to observe their behaviour and look for a way for them to come to you
- Drop down outside of their personal space and then approach them very slowly
- Don’t chase them
- Use a wide angle, they will come in close
- Use high shutter speeds
- If they are not responding move on
- Do you need a safety diver to ward off dangerous animals?
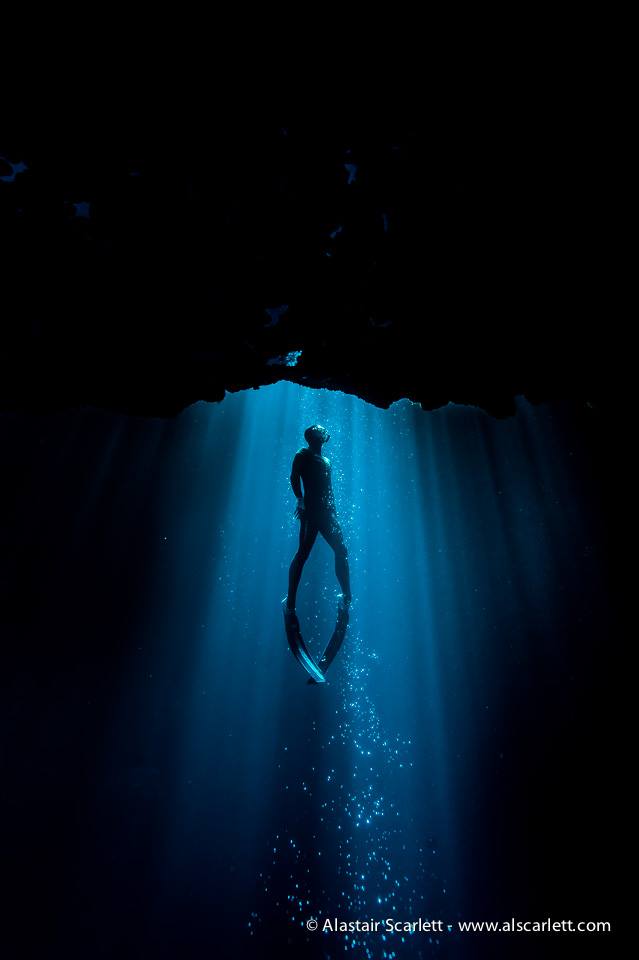
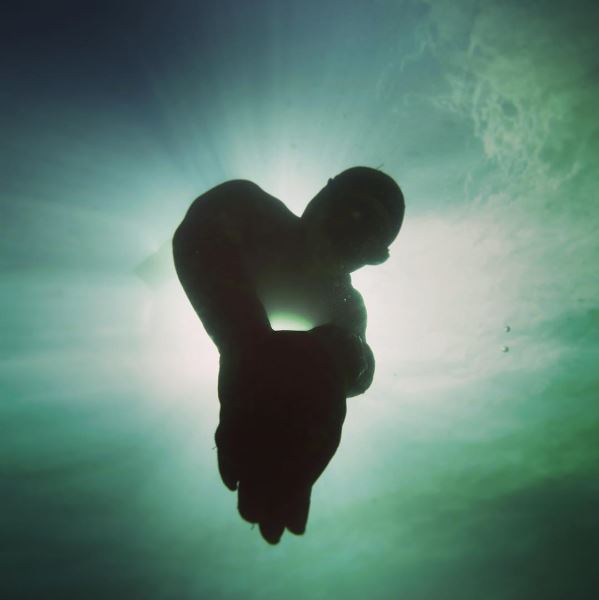
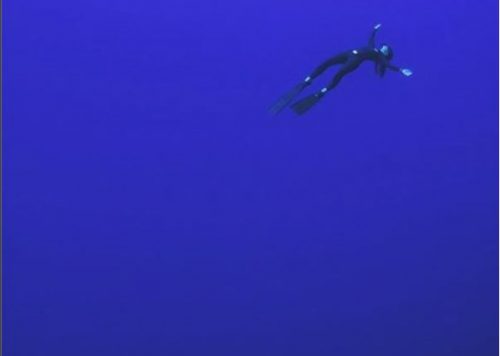
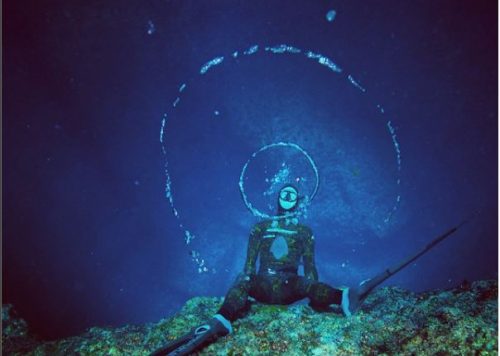
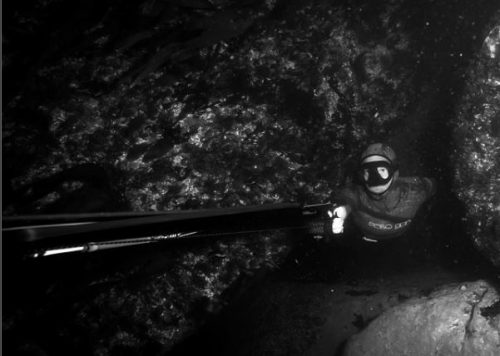
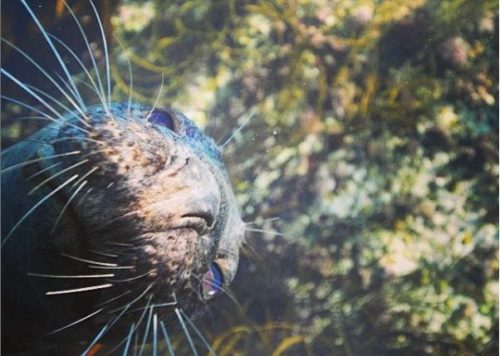
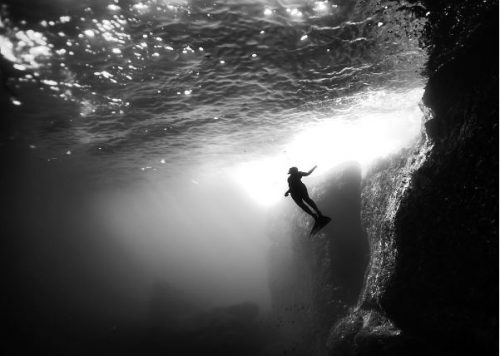
Image ideas made for free diving:
Below are the final images used in the magazine. I was also asked to provide an image for a backdrop at the Fine Watch Exhibition ‘SalonQP‘ at the Satchi Gallery in London.
Post Dive.
You’re not done yet!
First thing you should do is protect your dome so get the cover on. As soon as you can soak the whole rig in fresh water, ideally a bath, pressing all the buttons and turning all the dials to remove any salt deposits, sand, seaweed etc. Make sure it is thoroughly dry before opening it; take out memory card and battery, grease O rings, recharge batteries and download memory cards. Backup, Format and set the rig up again for the next session.
Conclusion.
Preparation is the key to underwater photography. Know your camera, know your subject, expect the unexpected and don’t be afraid to make mistakes. Always shoot in RAW. Post processing software is getting better and better and it’s incredible what you can get out of a seemingly useless image. Shoot as much as you can, go to workshops. Every little tip and experience gets stored in there somewhere. Know your limits. It’s easy to lose yourself behind the lens and before you know it, you could have drifted miles from your boat or dived deeper than expected. Be aware of your surroundings. The action could be behind, above or below you. Know if you’re approaching an overhang or branch of coral. For all the suffering of lugging your camera around and the creative packing needed to transport it around the world, the reward is freezing a single amazing moment which you can enjoy and share.
Last of all – Never dive alone!
Bibliography:
Glass and Water – Mark Harris
Light Science and Magic – Fil Hunter, Steve Biver, Paul Fuqua
Underwater Photography Masterclass – Alex Mustard
www.wetpixel.com
www.uwphotographyguide.com